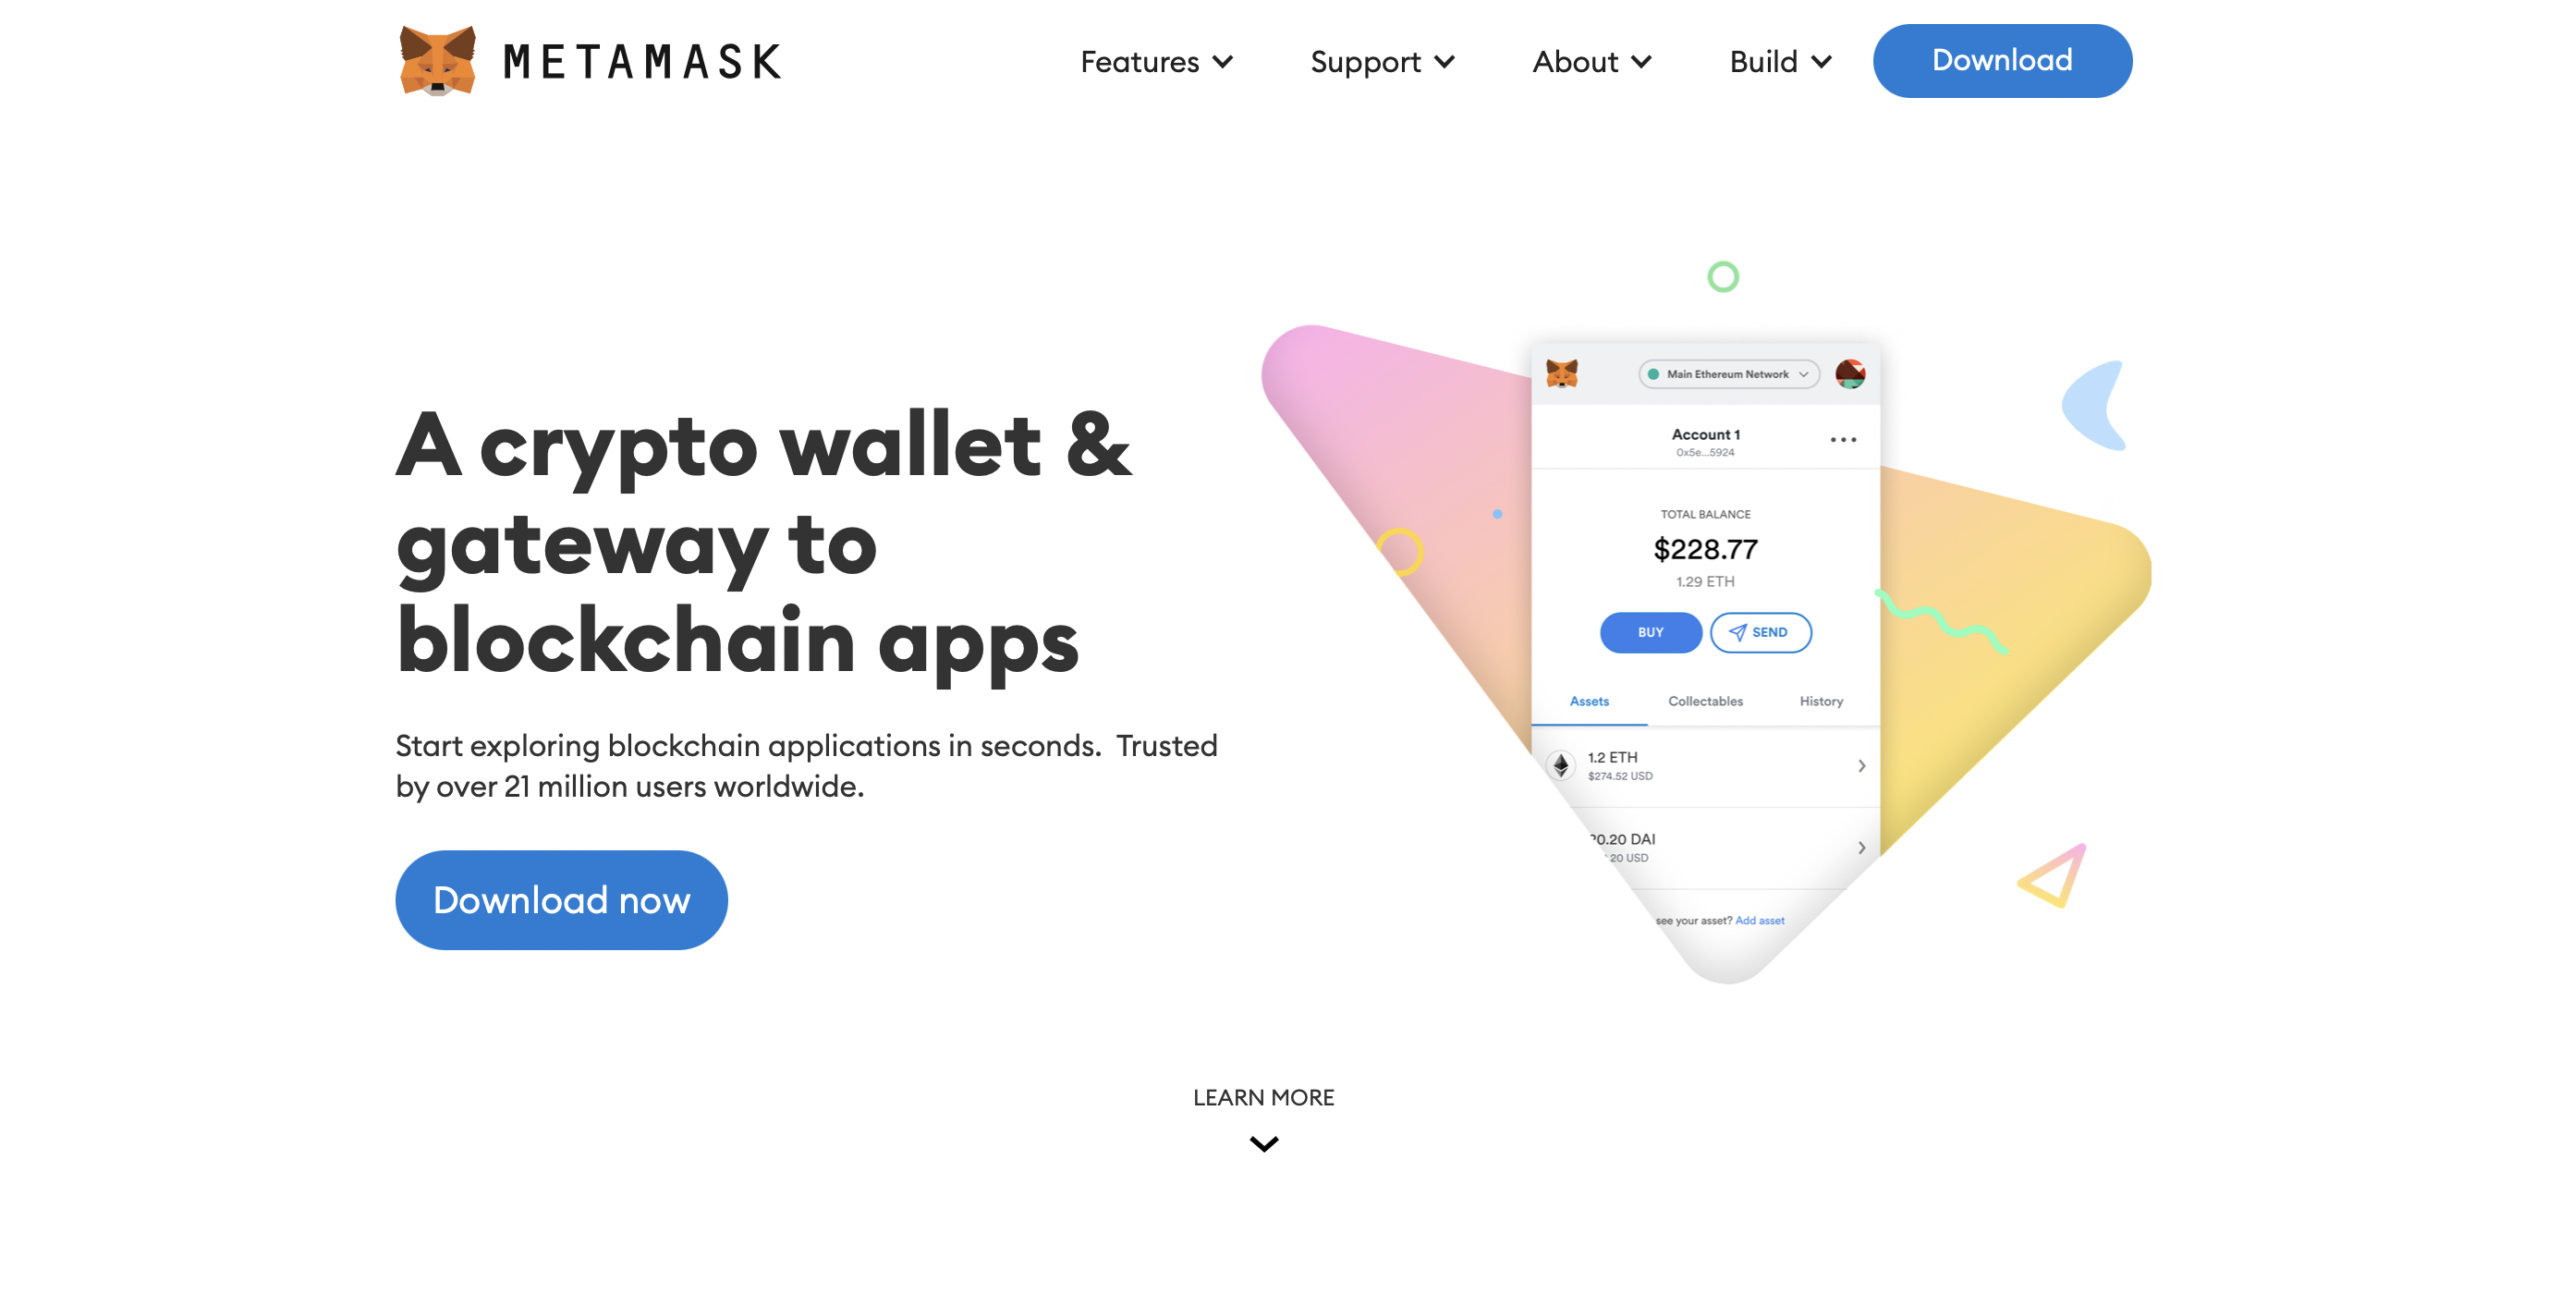
MetaMask Staking
MetaMask Staking allows you to connect to staking sites securely. If you own a lot of Ethereum tokens (Cryptocurrencies that are on the Ethereum blockchain), there’s a good chance that you can stake it to earn interest on your crypto. To do that, you generally need to link a 3rd party wallet to the cryptocurrency’s staking website. MetaMask is one of the most popular wallets to do just that for Ethereum tokens.
Supported Cryptocurrencies
As long as the coin is an Ethereum token, you can transfer it to your MetaMask wallet. If you’re unsure of whether a cryptocurrency is an Ethereum token, there are a few ways to find out.
- The cryptocurrency’s description states that it is an Ethereum token.
- The coin is listed as “ERC-20” either in the description or by the cryptocurrency exchange itself.
- When checking your cryptocurrency’s wallet address, it has the same format as an Ethereum coin (Starts with “0x” followed by 40 characters, for example, 0x123ABC456def789GHI101112jkl131415MNO1617)
Some popular examples of Ethereum tokens are Amp (AMP), The Graph (GRT), Chainlink (LINK), Loopring (LRC), and Basic Attention Token (BAT).
How To Earn Staking Rewards With MetaMask
MetaMask staking will be different for every crypto. You will need to do some research for where you ultimately will be staking your cryptocurrency. However, the method of putting your Ethereum tokens on MetaMask will always be the same. In this article, we will go over how to put your Ethereum tokens on MetaMask, followed by an example of connecting your MetaMask wallet to a cryptocurrency’s staking website. We will use The Graph (GRT) for our example.
Prerequisites:
- Have about $50-100 worth of ETH available to send to pay for future fees. You shouldn’t need all of this amount but it’s just to be safe.
- Get the MetaMask app for your computer or mobile device.
How to install MetaMask
Desktop Version:
- Go to https://metamask.io/download.html and download the extension for your chosen browser.
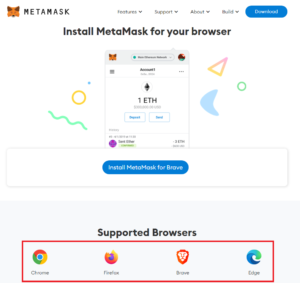
2. After installing the MetaMask, start it up if it didn’t do so automatically and click “Get Started”.

3. Click “Create a Wallet” and follow the prompt to create your wallet.
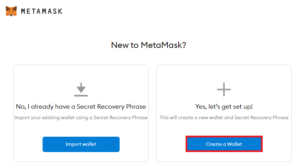
4. After creating your account, you will see an entry for ETH already on your account. To send the $50-100 ETH to your MetaMask wallet, hover over your account name so that it says “Copy to clipboard” and click so that it copies your wallet address. Use this somewhere else to see your full address if you need to type it in manually or paste it directly onto the website/app you are sending ETH from.
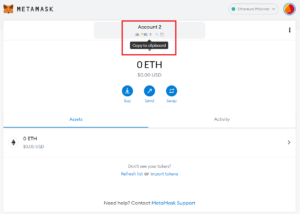
5. Now that you have some ETH on your account, click “import tokens”.
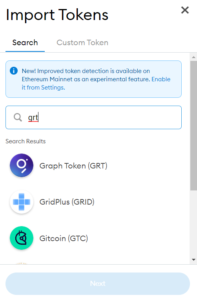
6. Search for any Ethereum token that you wish to put in your MetaMask wallet. If you can’t find your Ethereum token on the normal search tab, you will need to find out the cryptocurrency’s contract address by searching the cryptocurrency on https://etherscan.io/
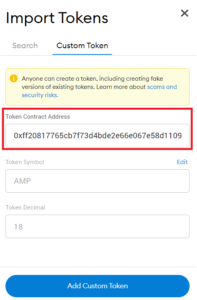
7. Repeat this for all Ethereum tokens you wish to put in your MetaMask wallet. Once finished, send all of your crypto to your MetaMask wallet address. This will be the same address you sent your ETH to originally.
Mobile Version:
- Download MetaMask on your mobile device’s app store (Android and iOS supported).
2. Press “Get Started” and then “Create a new wallet” if you’re creating a wallet for the first time. If you’ve already made a MetaMask account on desktop, you can just select “Sync with MetaMask extension” and ignore the rest of the following steps.

3. After creating your wallet, either press the shortened address under your account name or press the “Receive” button to get your wallet address.
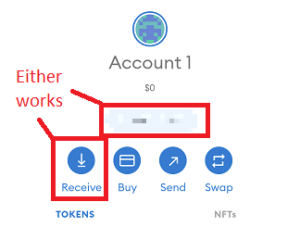
4. Send $50-100 ETH to the provided address.
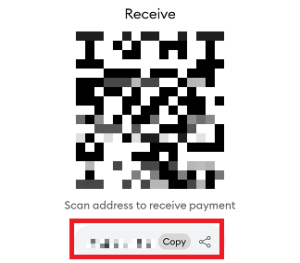
5. Back in the main screen, press “Import Tokens”.
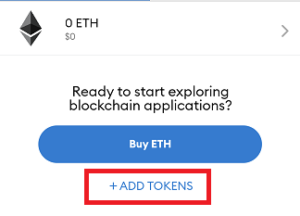
6. Search for any Ethereum token that you wish to put in your MetaMask wallet. If you can’t find your Ethereum token on the normal search tab, you will need to find out the cryptocurrency’s contract address by searching the cryptocurrency on https://etherscan.io/
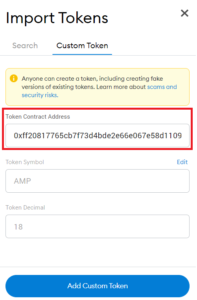
7. Repeat this for all Ethereum tokens you wish to put in your MetaMask wallet. Once finished, send all of your crypto to your MetaMask wallet address. This will be the same address you sent your ETH to originally.
Connecting MetaMask To A Staking Website
Now that you have your crypto in your MetaMask wallet, you’re ready to connect it to your crypto’s staking website. As stated earlier, each crypto will be staked differently and you will need to do research about where to stake it. Using The Graph (GRT) as our example, we used Google to find out where to stake it and found out we can stake it on The Graph’s official website. We will go through what we did to connect our MetaMask wallet to The Graph’s official website and stake our GRT.
- Go to https://thegraph.com/explorer/ and connect your MetaMask wallet.
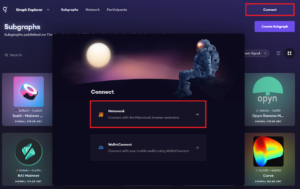
2. Your MetaMask app will automatically open up. Go through the process of connecting MetaMask to Graph Explorer.
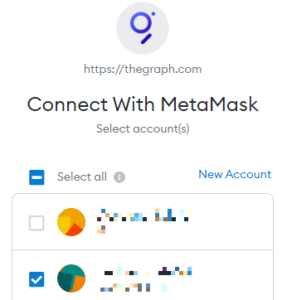
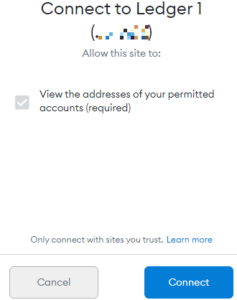
3. Once MetaMask is connected to Graph Explorer, you will see your account address at the top right. Click this to go into your account overview.
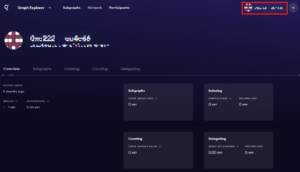
4. Go to the “Delegating” tab and then click “Find an indexer”.

5. You will be provided with a list of Indexers that you can delegate your GRT to.

6. Generally, you want to look for an indexer with a low Query Fee Cut and an effective reward cut in the positive percentage. You can also just click the “Delegated” column to sort it and see which Indexer is the most popular.
7. After deciding on an Indexer to delegate to, select the delegate button on the far right side of the table for that Indexer.

8. A window will pop up for you to choose how much of your GRT you want to stake. We recommend staking the maximum amount.
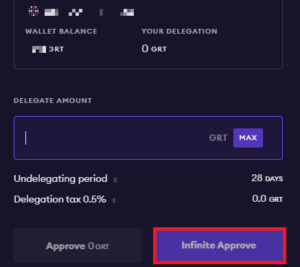
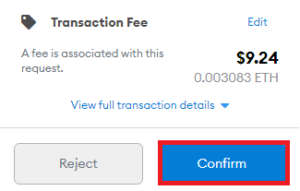
9. After approving the delegation, MetaMask will automatically pop up and inform you of the ETH fee. Confirm the transaction. Continue going through the prompts until your GRT is successfully staked.
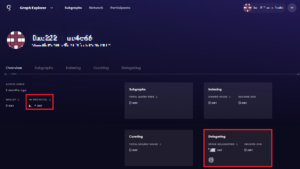
10. Go back to your account overview and confirm that you now have GRT “In Protocol” and see it in the “Delegating” section.
Syncing MetaMask With Your Hardware Wallet
For added security, you can sync your wallet to your hardware wallet. Ledger and Trezor are both supported. You can only sync on desktop.
- Click your account icon at the top right. Click “Connect Hardware Wallet”. Select Ledger or Trezor depending on what you have and click “Continue”.
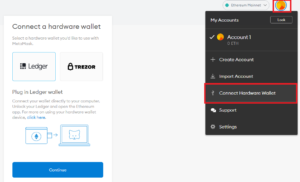
2. Follow the onscreen instructions for your hardware wallet. If you’re using a Ledger Nano X, disable bluetooth or it will have issues communicating with your browser.
3. After syncing, you will have a new account with all your Ethereum tokens listed.
Final Thoughts
MetaMask is a great wallet to have if you have a lot of Ethereum tokens. You can use it to stake and earn good interest on a variety of cryptocurrencies on their staking websites. Each cryptocurrency will be staked using different methods and websites so you will need to do some research to find out how and where to stake it but it is worth it for the interest you will be receiving!
The staking process will generally be somewhat similar to what we went through in our The Graph (GRT) example. After going through the process once, you will soon become an expert at connecting your MetaMask wallet to other staking websites to earn interest on your crypto!
Use MetaMask Staking for an extra layer of security. Visit Crypto Staking Rewards to learn how to stake crypto, earn staking rewards, cryptocurrency staking benefits, and where to find the best staking rewards.
